I have a problem – my camera gear, when packing for travel, takes priority over everything else. I LOVE my camera gear. I only like my clothes and other little toys, so the photography equipment always wins out. If I can take an extra lens but have to ditch a pair of socks to do it, I will. I can go sockless quite happily if it means I can capture a specific shot in the in way I want to capture it. Cold feet are nothing when you’re making artistic magic. 😉
Having said that – there are limits to what I can take with me. Especially on long trips, or when I am trying to manage my travel with carry-on luggage only. So over the years I have whittled down the amount of gear I take to a nice, tight set of portable equipment that gives me maximum flexibility.
Hopefully my years of trial and error will be helpful to you. With that in mind, I am happy to share what’s in my bag, as well as a few other tips that you may find useful when packing your gear for your next trip.
1. The Backpack
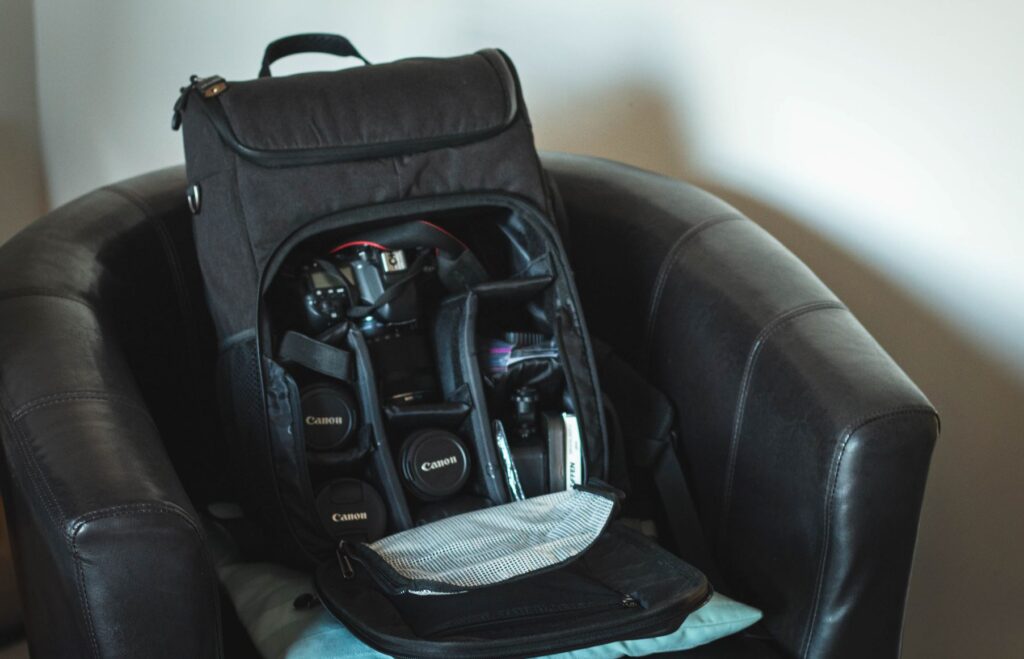
I used to use the Tuff-Luv E-volve Expedition camera backpack. It’s been the best deal going for years, but sadly I don’t think they don’t make them anymore. Too bad, as they were an amazing value. So I went hunting online and found the Evecase Shell DSLR Camera Backpack.
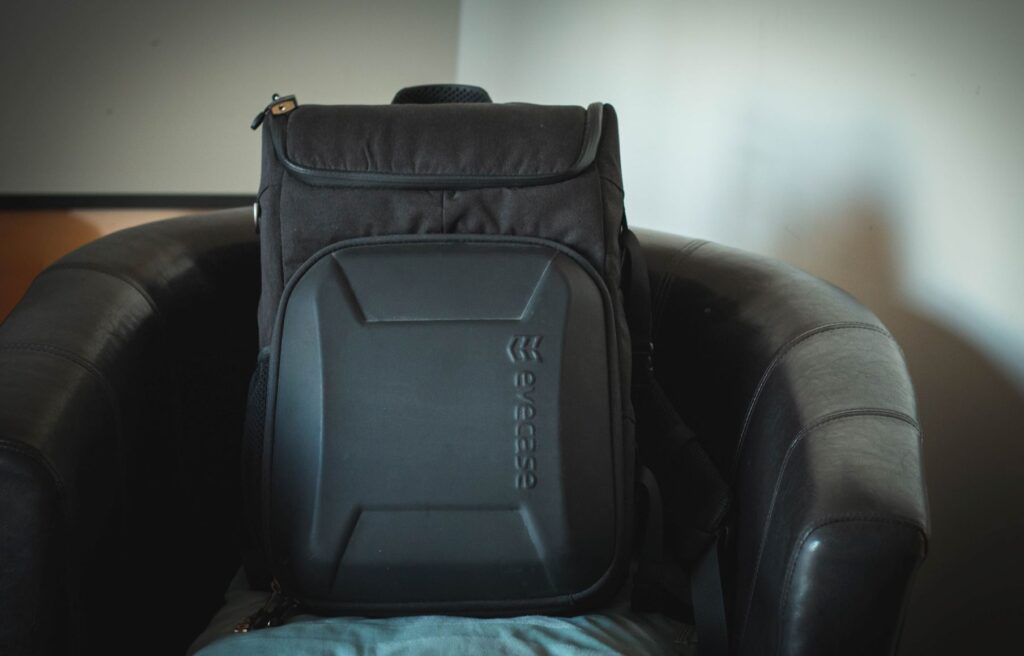
This one comes with a padded pocket for a handful of lenses and one or more camera bodies depending on how you lay it out; a laptop compartment; main pocket for a few clothes, more camera gear, or other travel items.
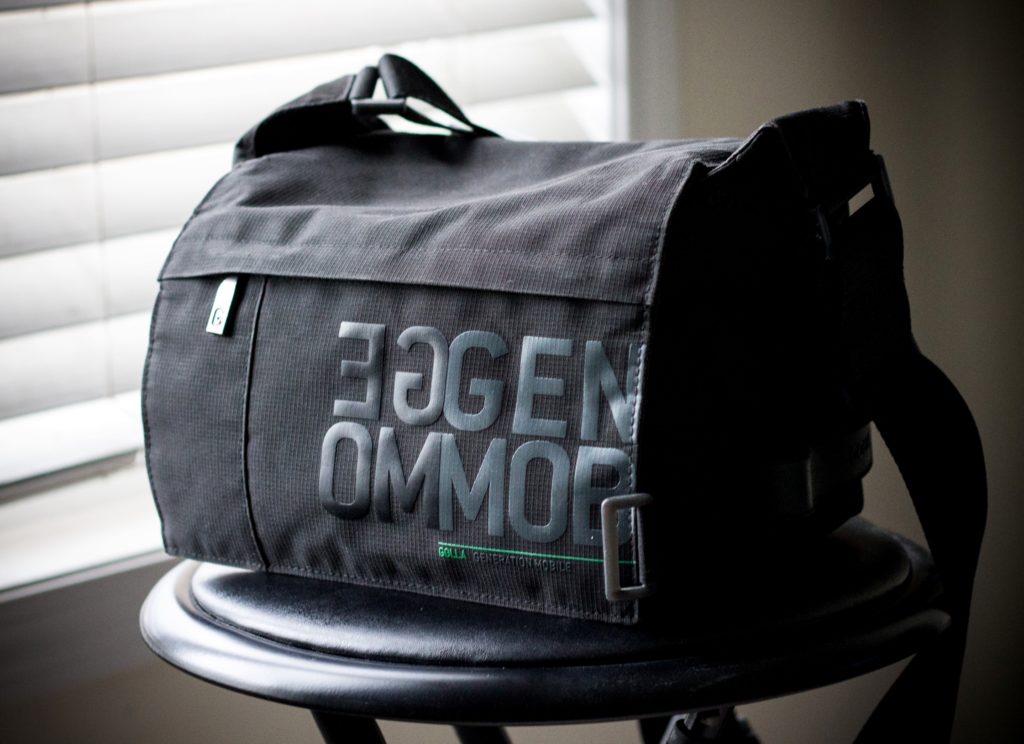
In addition to my backpack, I usually pack along a small over-the-shoulder bag that works really well for those times when I want a small bag that I am constantly going to be in and out of. This is a Golla bag, and though it looks small, I can actually get a body (with lens attached) in there, as well as two other small lenses and a few other odds and ends. It holds shut by magnets, so it’s super easy to flip open, grab something quickly, and get back to shooting.
 Between these two bags, I’ve got all options covered, whether I’m hiking into the jungle to find a waterfall or into the front row of a concert to shoot the band.
2. The Camera and Lenses
My setup is simple – a good camera body and a handful of lenses that cover all the ranges I need.
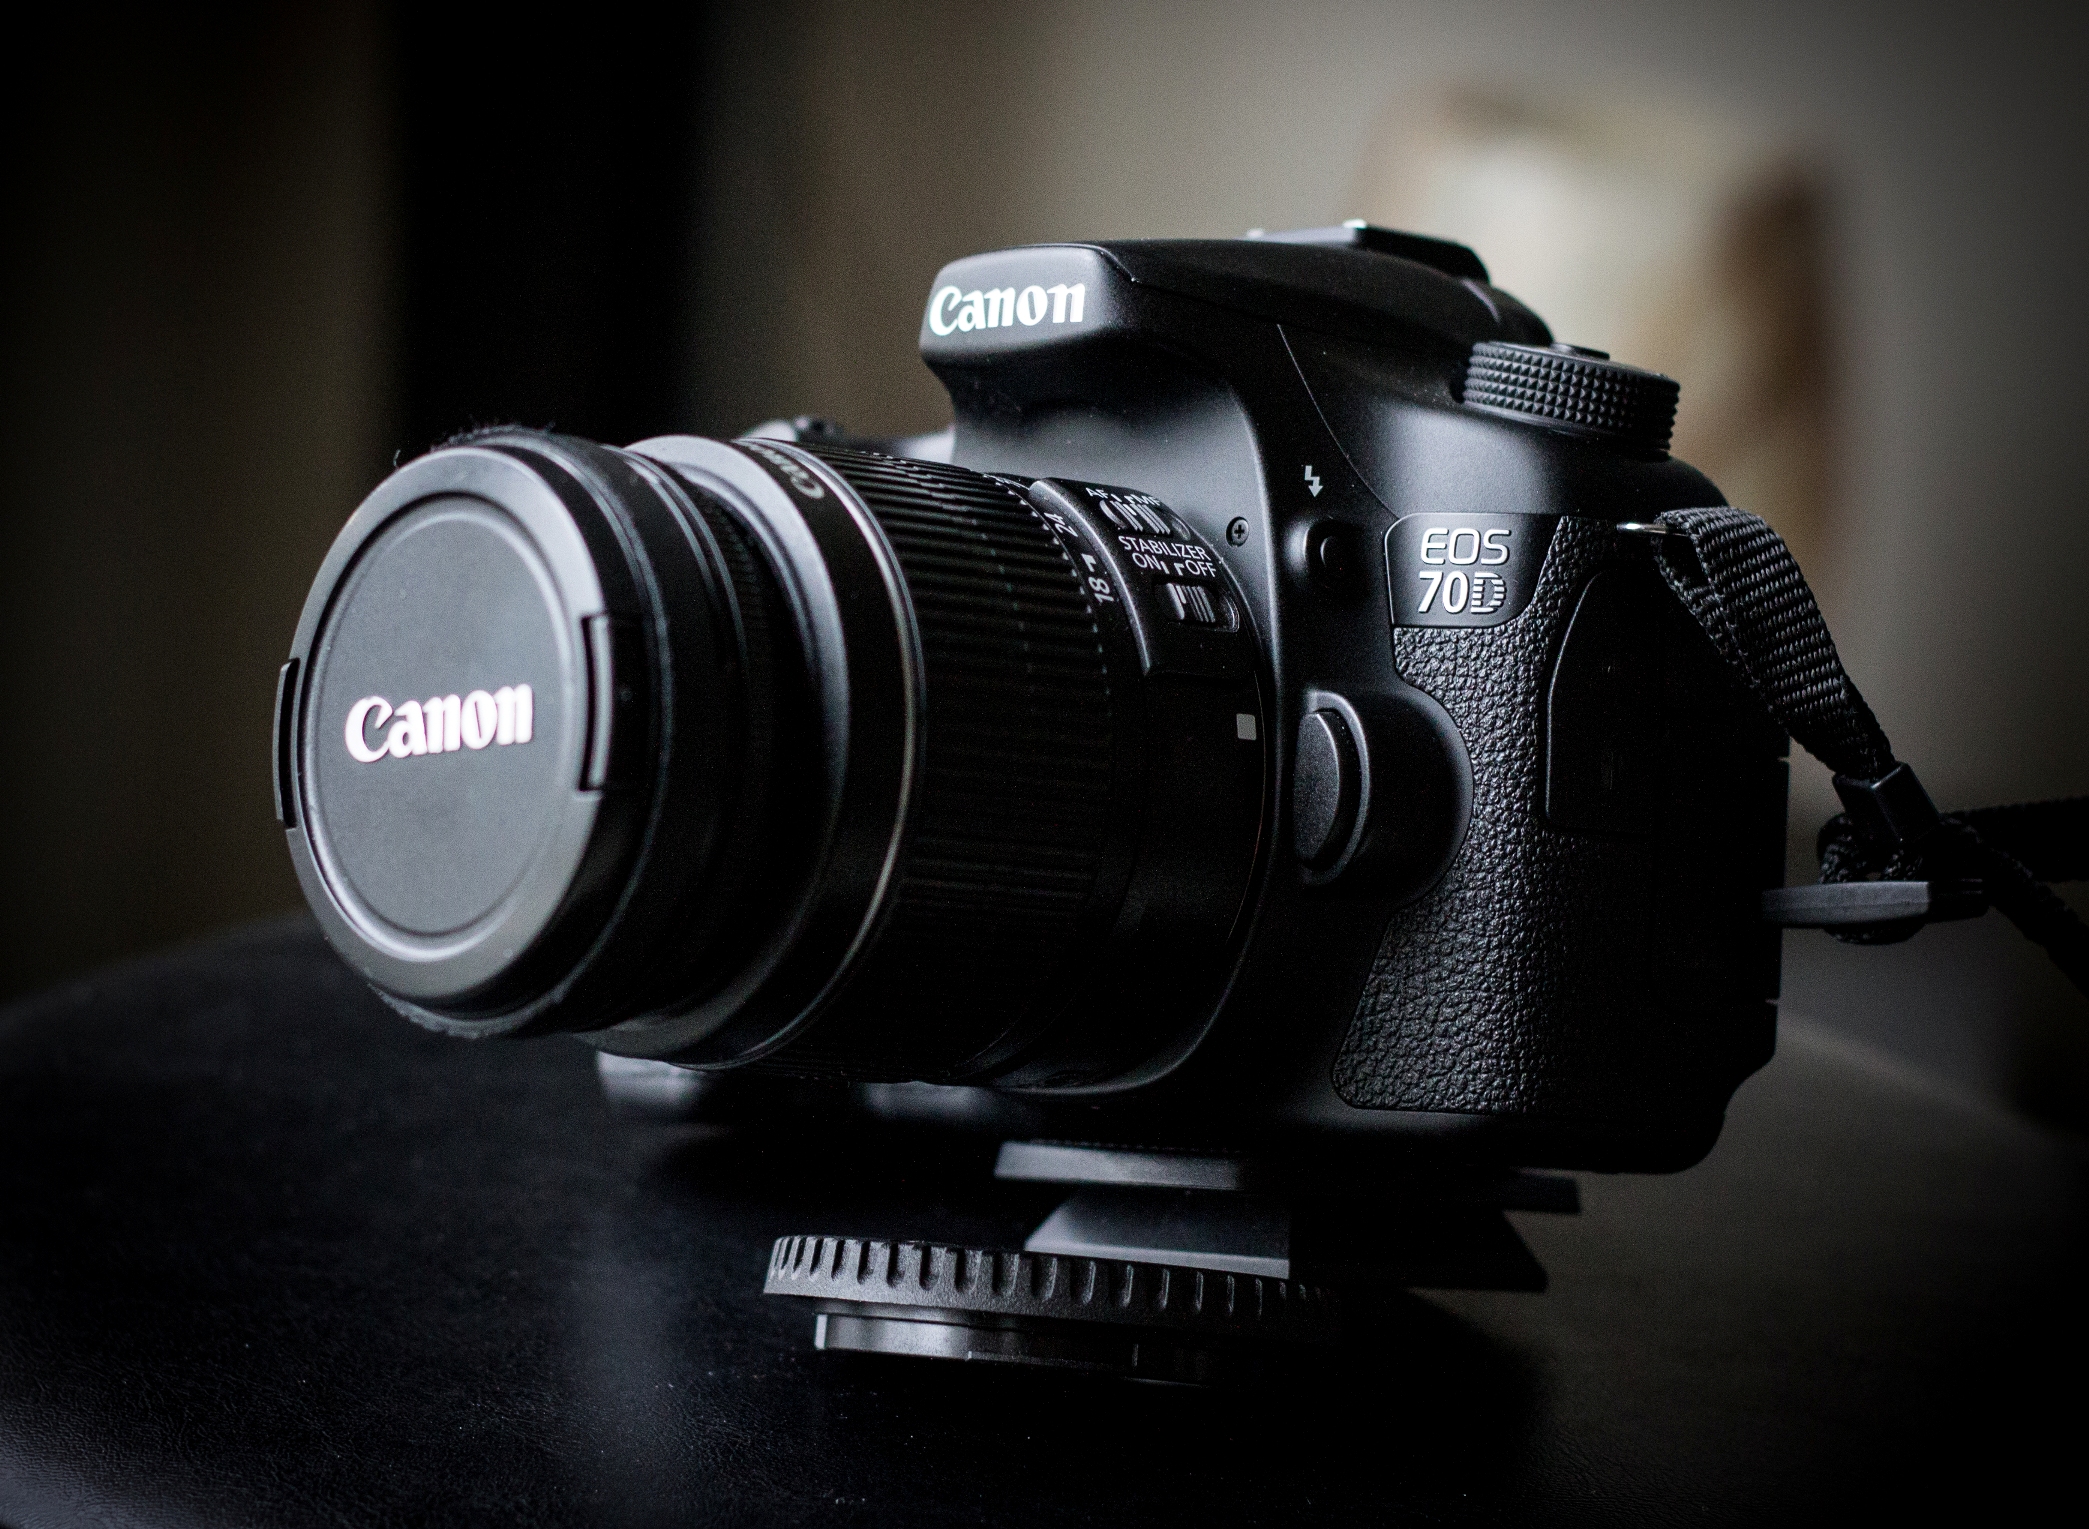
For years I used the basic entry level Canon Rebel T3, followed by the Canon 70D (I love that camera!) but recently upgraded to the Canon EOS 80D. Both the 70D and the 80D are phenomenal mid-range DSLRs that won’t break the bank.
The 80D is a great camera for travel as it does exceptional video work, is fantastic in low light, and is extremely versatile. From portraits to challenging landscapes and rock concerts to studio work, I have yet to find a situation where the 80D (or the 70D, for that matter) didn’t perform well.
I do want to say, though, that you don’t need to spend a ton of money on a new camera body to take good travel photos! Start with what you can afford and don’t go overboard – consumer grade DSLRs and mirrorless cameras are so good these days, you definitely don’t need to overdo it. Many of the photos on this site were taken with my old Rebel T3, so don’t be afraid to be creative with whatever you have; most of all, have fun and get out there!

As for the lenses, for years I used three that had me covered for most focal ranges I could ever see needing – I had an 18-55mm, a 55-250mm, and a 50mm portrait lens. That little trifecta came with me all over the world and it got the job done most of the time. I recently added two more to the stable, but I still love the idea of keeping things simple and affordable.
When I travel I don’t always carry all five lenses with me – I pick the ones I am likely to use on a trip and will limit myself to three or less in most cases. My lenses include:
– Canon 18-55mm f/3.5-5.6
The 18-55 is a kit lens, it’s inexpensive and reasonably durable. This was my first lens (as it’s a kit lens included in many Canon packages, it’s a first lens for many Canon enthusiasts), and because it’s versatile I’ve used it in situations all over the world.
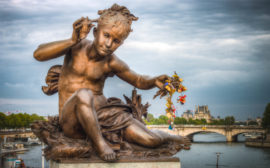
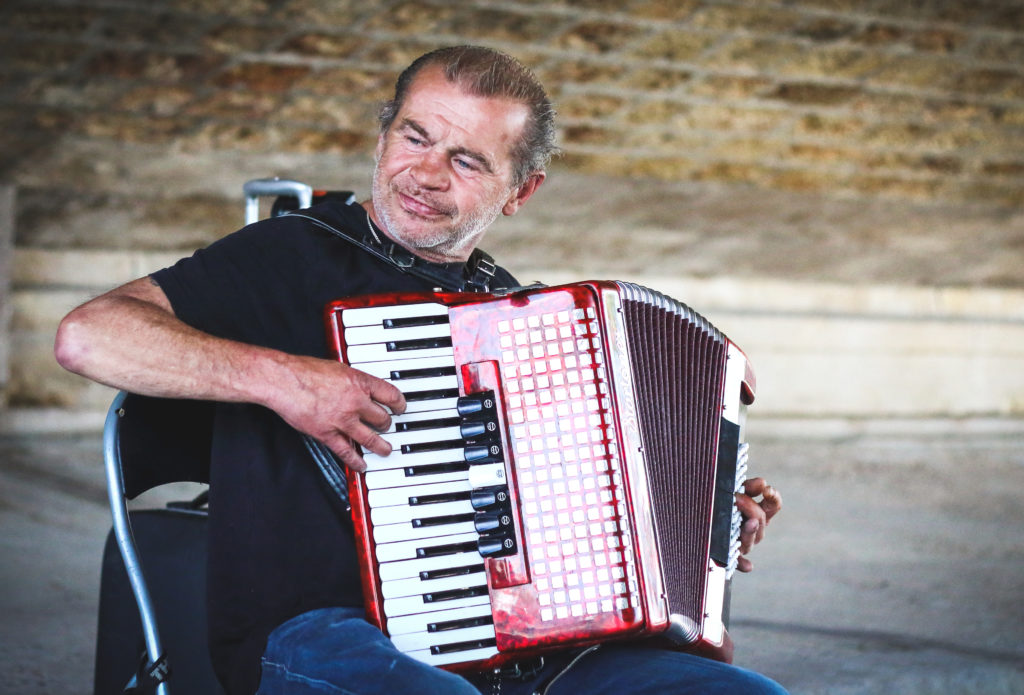
– Canon 50mm f/1.8
The 50mm f/1.8 is known as the “nifty fifty”. It’s a great little prime / portrait lens that can be bought for less than $150. I’ve used the nifty fifty for everything from basic studio work to portraits on the fly. See below for a recent portrait taken along the Seine in Paris with the 50:
– Canon 55-250mm f/4-5.6 IS
As for the 55-250mm, it’s an excellent zoom lens for the money, and with image stabilization will allow you to zoom all the way out to 250mm and still hold things steady. I use the 55-250 for sports, wildlife, and some portrait work. The photo below of WTA player Svetlana Kuznetsova was taken with the 55-250 at the Rogers Cup WTA tournament in Toronto, 2019.

– Canon 18-135mm f/3.5 IS
The 18-135 focal range gives you a TON of options. It’s a great “walking around” lens, and because it’s so versatile, you can use it in all kinds of different situations. For some, this might be the only lens you need if you’re heading out for a day trip. The downside to this lens is the weight – it’s noticeably heavier than the 18-55 or the “nifty fifty”, but then again it also gives you more options. So it’s a trade-off for sure. But this is a very good lens, and if you end up with one in a camera kit consider yourself fortunate as it’s a great value when bought this way.
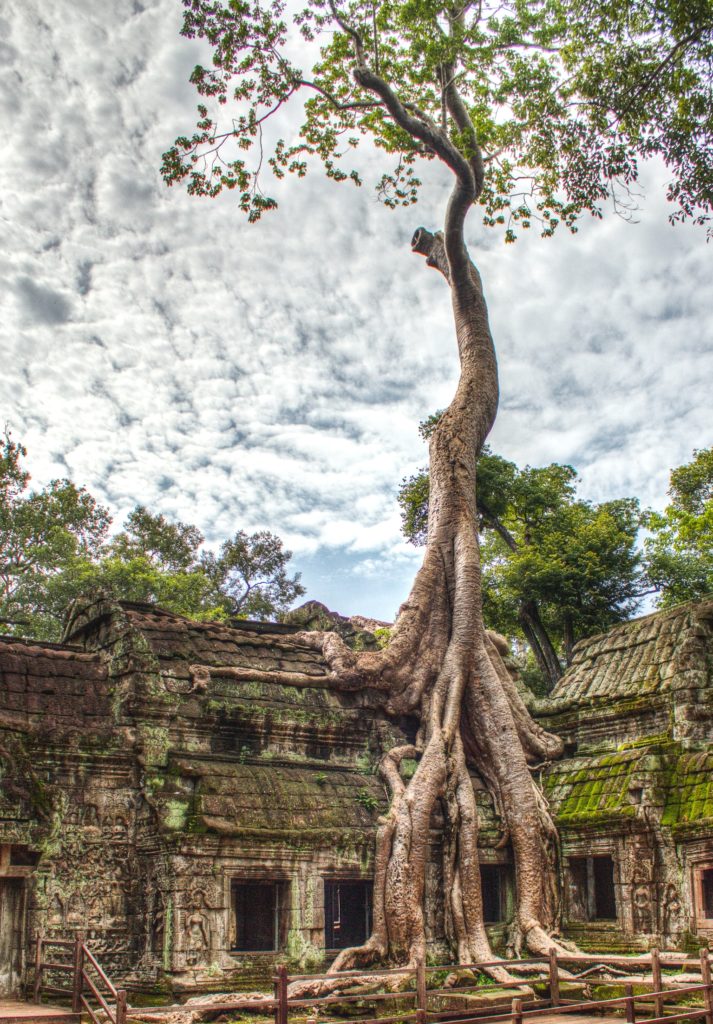
– Canon 10-18mm f/3.5 IS STM
I bought this lens primarily for landscapes. I found myself in some situations while on the road when I couldn’t get the shot because the lens I had on my camera simply wasn’t wide enough. So I invested in the 10-18 and LOVE it! The maiden voyage for this guy allowed me to shoot the image below at Ta Promh in Cambodia. Without it, I never would have been able to pull this off:
For me, I am thrilled that I have all ranges covered now, whether I am shooting portraits, concerts, sports, vast landscapes – you name it. I know I have pretty diverse interests, so I am guessing most people can probably cover what they need with 2-3 lenses.
3/ Other Gear
Shooting at night, trying to smooth out waterfalls, or going for multiple exposures on landscape photos means I need something to keep my camera steady. So that means a tripod.
On trips where I know photography is a major component (ie. Iceland) I will bring my full-size tripod, packed in my checked luggage, and then hooked to my backpack when I head out. But if I’m just heading out for the day with no real expectation of needing the full-size tripod, I’ll pack along this little Polaroid 12-inch deal (other items added for context):
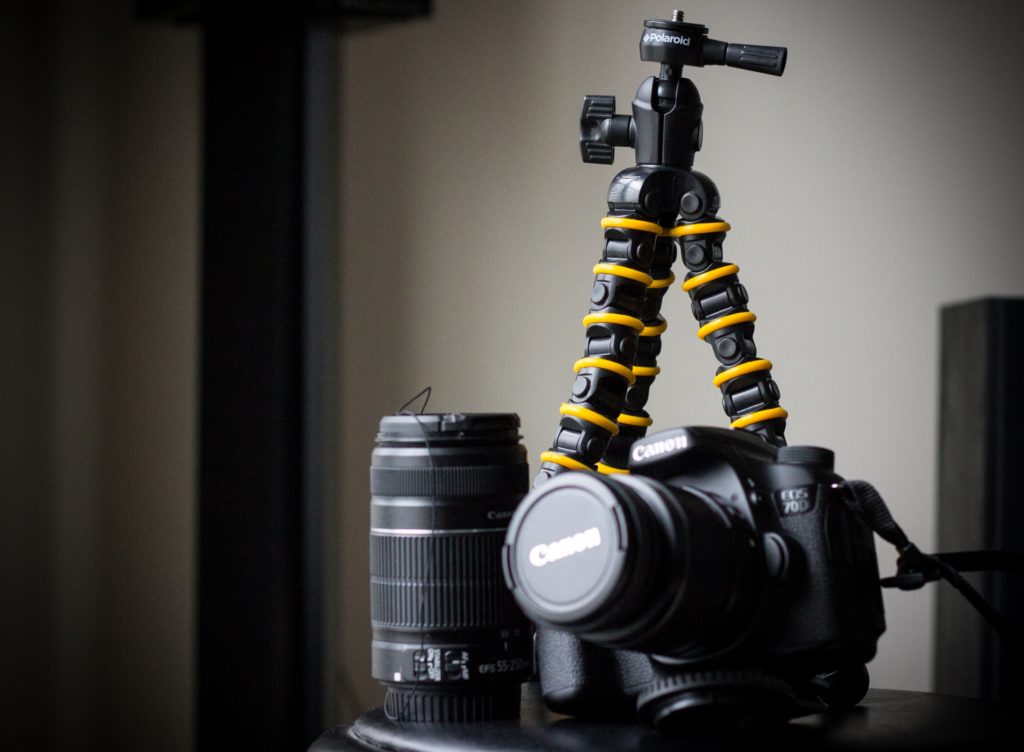
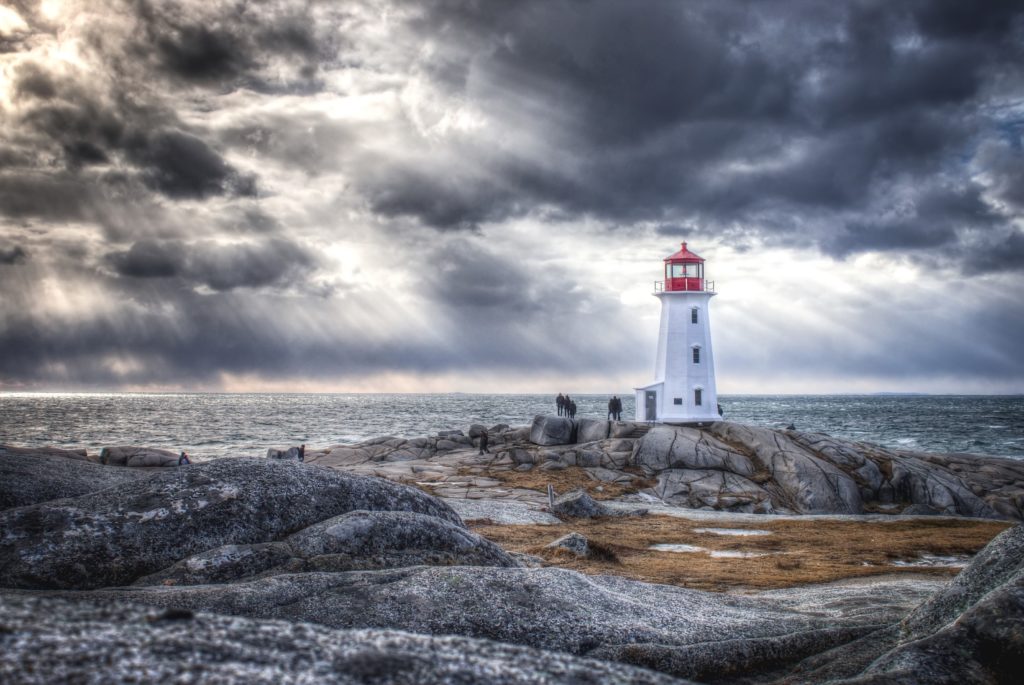
It’s amazing how much use I get out of this thing! It’s flexible, so I can set it up in a variety of positions. It’s surprisingly strong, and can hold my DSLR as long as I don’t have a heavy lens on it, and it acts as a stabilizer if I’m trying to shoot a handheld HDR image. Here’s an example below, of a shot taken in Peggy’s Cove, Nova Scotia on a brutally windy day. The Polaroid allowed me to brace my camera against my chest, giving me my three points of contact with the camera and the ability to hold it still enough to manage this:
One other thing the Polaroid flexible tripod is great for is video. I can attach my DSLR, hold the legs of the tripod at the bottom and it acts as a stabilizer and (short) selfie stick! It’s a a cheap and easy way to stabilize – not as good as a gimbal – but it definitely helps.
As for other gear, it’s just the usual stuff – I have an ND filter I use for waterfalls, a few cloths for lenses, wet wipes in case I get caught with random goop on my hands (happens more than you’d think), extra battery, extra memory cards, charger, and that covers it.
Quick Re-Cap
You don’t need much to put together a good little setup to take on the road! My gear boils down to:
- Backpack and small shoulder bag
- Camera body – 80D (and 70D backup if required)
- Lenses – I own 5 but take 3 or less at the focal ranges I need
- Full tripod and / or 12-inch Polaroid flexible tripod
- Odds and ends: filters, batteries, memory cards, cloths
Now get up, get out there, and happy shooting!
For more travel photography tips, check out my earlier, related post “8 Travel Photography Tips” – thanks!
What do you bring on the road? Feel free to comment below – cheers!